Key facts: Burst Pipe Water Damage
First steps
In the first few minutes
- 1
Close the main
It is often where the line enters the house, near the meter or a basement wall.
- 2
Deal with power
Turn off circuits for wet areas if you can reach the panel safely.
- 3
Open faucets
This drains remaining water from the lines.
- 4
Document
Take photos and video before moving things, for the claim.
- 5
Call
A plumber fixes the pipe. A restoration contractor handles the water damage.
Inside the wall when a pipe splits
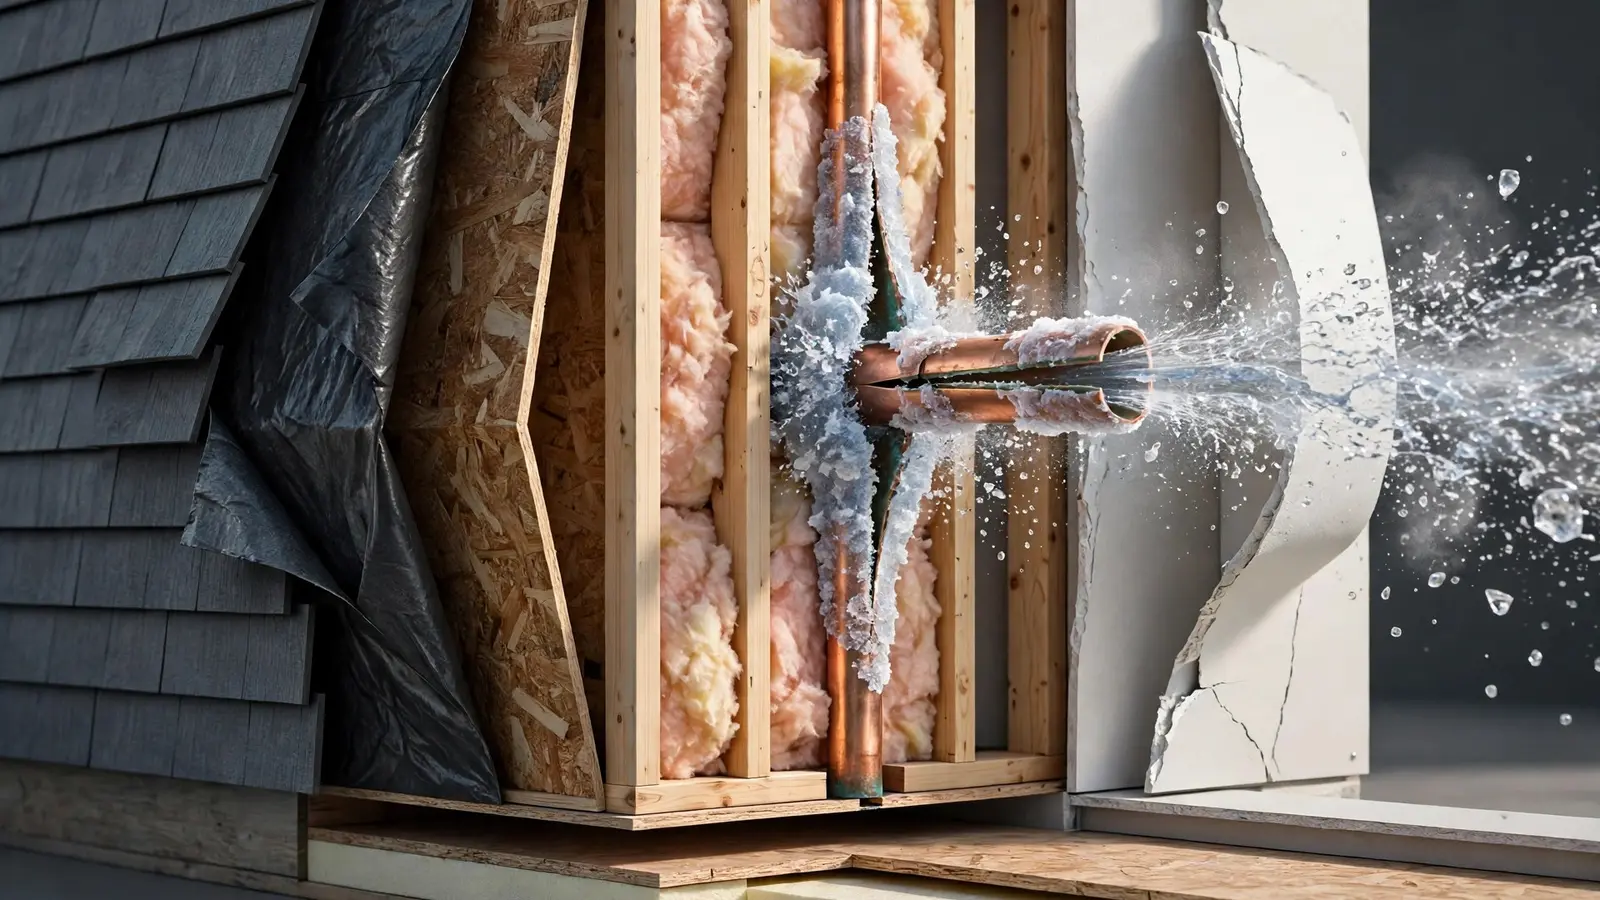
Hidden damage
Why a small break makes a big mess
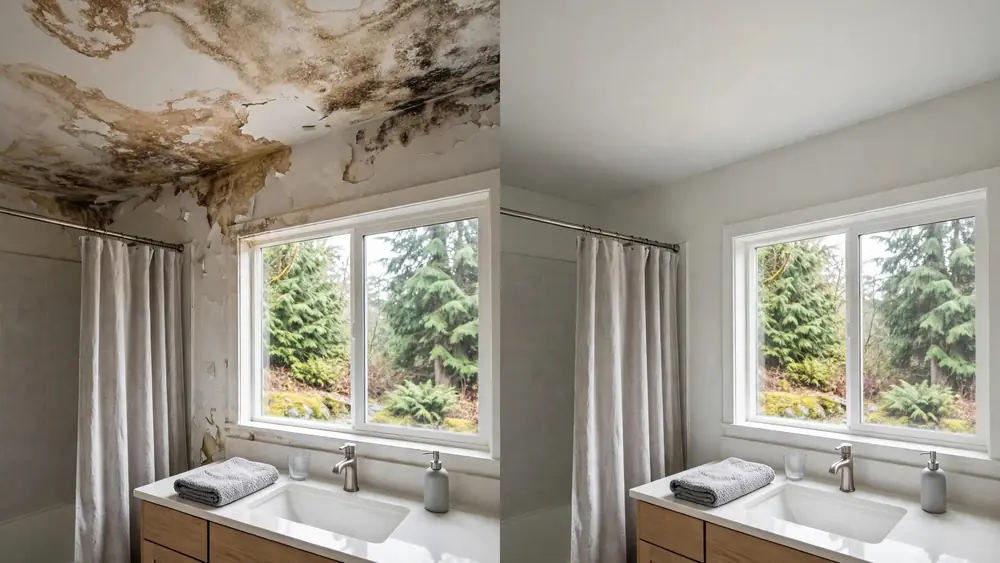
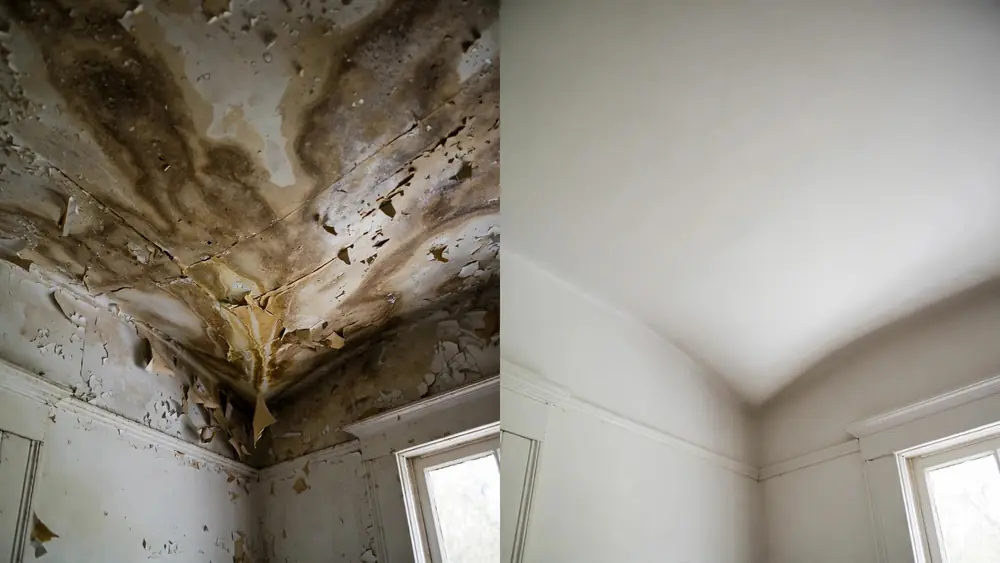
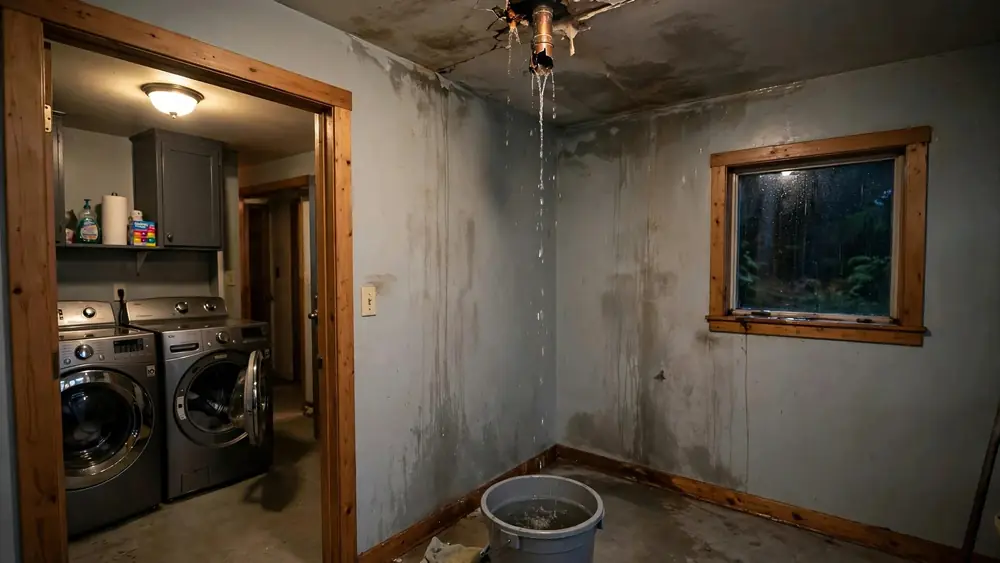
Water follows framing downward and spreads across the top of ceiling drywall until it finds a seam or light fixture. A sagging ceiling can hold a surprising weight of water, so stay out from under it.
Getting the water out starts with water extraction, and meters then show which walls need structural drying. For cold-weather prevention, keep heat on when you travel and let faucets drip during hard freezes, and read our Connecticut and New Hampshire pages for regional issues.
Where the water ends up
Causes
Why pipes fail
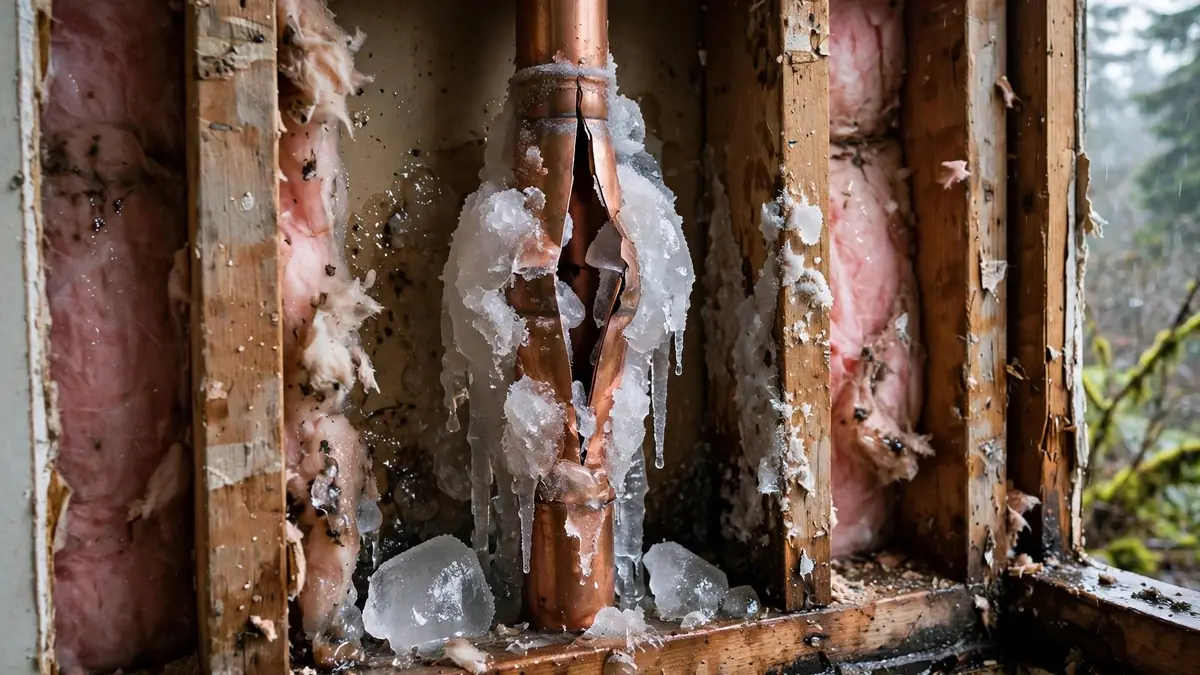
Freezing is the best-known reason, and the split often appears away from the ice, where pressure builds between the blockage and a closed faucet. Other failures come from corrosion, worn connectors, water pressure that is too high, and old materials such as polybutylene.
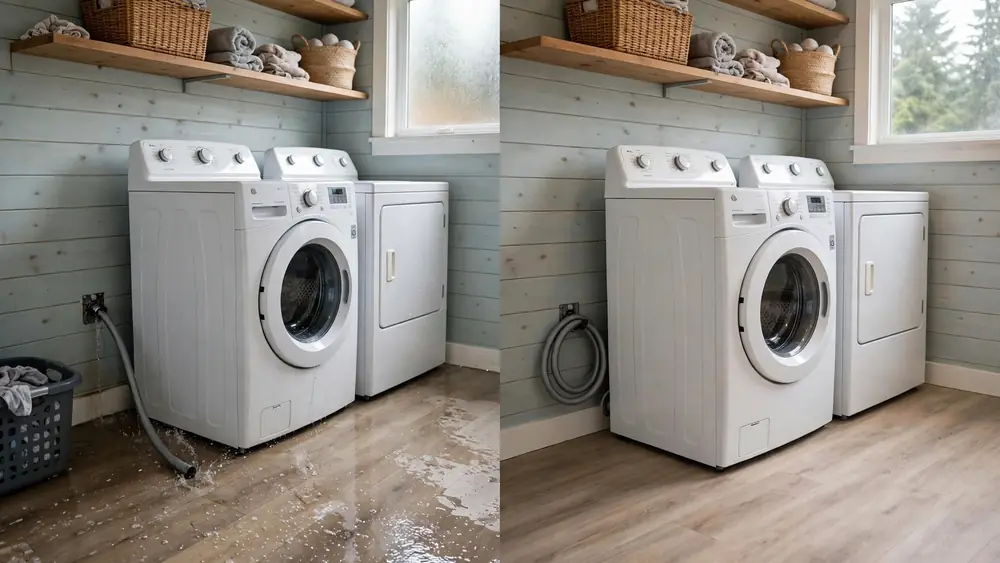
Washing machine hoses, toilet supply lines and ice maker tubing fail often too. They are small parts, but they run at full house pressure.
Checklist
Before the next hard freeze
- Insulate pipes in garages, attics and crawlspaces.
- Open cabinet doors under sinks on outside walls.
- Let a faucet drip when temperatures drop sharply.
- Keep the heat on if you travel, and have someone check the house.
- Know how to shut off the water, and show everyone at home.
Thawing
If a pipe is frozen but has not burst
Open the faucet it feeds, then warm the section with a hair dryer or heating pad. Never use an open flame. If you cannot find the frozen spot or reach it, call a plumber. Keep your hand near the valve as it thaws, since a hidden split may only leak once the ice melts.
Who does what
Plumber, restorer and adjuster
The plumber fixes the break, and the repair may be needed before drying can finish. The restoration contractor measures and dries the structure, and your adjuster reviews the loss. Keep the failed section of pipe if you can, since it may be useful evidence. Read working with your adjuster before the visit.
Is this what you need?
Signs a hidden pipe has failed
Not every failed pipe sprays into a room. Watch for a meter that moves with all fixtures off, a sudden drop in pressure, a damp patch that grows or the sound of running water in a wall. To test the meter, turn off all fixtures and watch the dial for movement.
If you find a leak in a frozen pipe, remember more damage may show only after thawing. Check the whole run, not just the first spot.
Compare
Where pipes commonly fail
| Location | Common cause | What to do |
|---|---|---|
| Exterior walls | Freezing | Insulate, open cabinets in cold snaps |
| Attics and garages | Freezing | Insulate or reroute |
| Under sinks | Worn connectors | Inspect and replace |
| Behind washers | Hose failure | Use braided hoses |
Questions
More questions about burst pipes
Is a burst pipe covered by insurance?
Sudden failures commonly are, but long-term leaks and homes left unheated may be treated differently. Check your policy.
Can I repair it myself?
A small temporary clamp may slow a leak, but a licensed plumber should make the permanent repair.
Why is the damage so far from the break?
Water follows framing and pipes and pools at low points, so it shows up away from the source.
Guides
Guides for this job
Finding the valve
Where main shutoffs hide, by type of house
In a house with a basement, the main valve is usually on the front wall, near where the supply line comes through the foundation. On a slab, look in a utility closet, a garage wall or beside the water heater. Crawlspace homes may have it just inside the access hatch. In warm climates the meter and the valve are often outdoors, either against the wall or in a covered box near the street.
Apartments are less predictable. Your unit may have its own valve behind a panel or at the fixtures, and the building's main may be locked in a mechanical room. Call the manager or the maintenance line straight away, and tell your neighbors below that water may be coming through.
Two common valve types work differently. A lever-style ball valve closes with a quarter turn, with the lever sitting across the pipe when shut. A round gate valve takes several turns, and old ones can stick or snap. If it will not move, your water utility may be able to close the street-side valve, which often needs a special key.
Fixture by fixture
Which fixture valve to close first
If the failure is at one fixture, a local stop can keep the rest of the house running. If you are in any doubt, use the main.
| Failure at | Where the stop is | Note |
|---|---|---|
| Toilet supply line | Low on the wall behind the toilet | Turn clockwise, and do not force a corroded stem |
| Sink connector | Inside the cabinet | Separate hot and cold valves |
| Washing machine hose | Box in the wall behind the washer | Close both, even if only one hose failed |
| Refrigerator ice maker | Behind the fridge or under the sink | Thin tubing, so check the whole run |
| Water heater | On the cold line above the tank | Turn off gas or power to the heater too |
| Hose bib or outdoor line | Inside the wall or at the main | A frozen hose bib may leak only when opened |
How the failure looks
Pinhole, split, joint or connector
The shape of a failure tells a plumber a lot about what else may be at risk, so keep the piece if you can.
Pinhole leaks
Copper can develop tiny holes from corrosion. They spray a fine mist and often go unnoticed, wetting cavities slowly. One pinhole may mean others are coming along the same run.
Lengthwise splits
A long tear in copper or plastic is a classic freeze failure. The water runs hard the moment the ice melts, and the volume released can be very large.
Blown joints
A fitting that lets go may point to a poor connection, shifting pipe or excess pressure. Push-fit and compression fittings should be inspected along with the pipe around them.
Failed flexible connectors
Braided lines can rust from cleaning products stored under the sink, while rubber hoses crack with age. These parts hide behind appliances and cabinets, so they tend to run a long time before anyone sees the water.
Pressure and materials
Why some houses have repeat failures
A single break in an old system is often a warning about the rest. Galvanized steel corrodes from the inside and narrows over time. Polybutylene, a gray plastic found in homes built from the late 1970s into the 1990s, has a long record of failures at fittings. A plumber can tell you what your house has, and whether spot repairs make sense or a broader repipe is worth discussing.
High street pressure stresses every joint and connector in the house. A simple gauge screwed onto a hose bib will show what the pressure is, and many plumbers treat readings above about 80 psi as too high. A pressure-reducing valve fixes this, and it should be checked if pressure has crept up. Water hammer, the bang you hear when a valve closes fast, is another stress on old pipes.
Tell the plumber about any earlier leaks or repairs, even small ones. A pattern across the same line is more useful to them than the latest break by itself.
Tracing the water
How a contractor follows the path from the break
The goal is a map of everywhere the water went, since drying only the visible part leaves a wet building behind.
- 1
Start at the break
The contractor notes the fitting location, then checks directly below it, since gravity sets the first path.
- 2
Follow the framing
Water runs along joists, pipes and wiring. Readings taken at intervals along those lines show how far it spread.
- 3
Check the floor below
Ceilings, light fixtures and the tops of cabinets are tested in the room under the failure.
- 4
Check through the wall
A wet wall has two faces, so the adjoining room gets readings as well, including inside closets.
- 5
Look under floors
Hardwood, laminate and tile can trap water above a wet subfloor, and thermal imaging may show cool patterns that deserve a closer check.
- 6
Draw the boundary
Readings continue until they reach dry material on every side. That boundary sets the drying plan.
Rooms this affects
What tends to get damaged, room by room
Each room hides water in its own way, and these are the places worth raising with the contractor.
- KitchensWater gets under cabinets and behind toe kicks, and may wet the back of a dishwasher or the floor beneath an island. Base cabinets made of particleboard often swell.
- BathroomsTile hides what is under it. Check the ceiling below, along with any vanity base and the wall behind the tub.
- Laundry roomsThese are often upstairs in newer houses, which means a hose failure can run through two floors before anyone notices.
- AtticsInsulation soaks up a great deal before a stain shows, and wet fiberglass can flatten and stop working.
- GaragesStored cardboard boxes wick water upward. Move them out so the wall behind can dry.
- Bedrooms over a slabA hot-water slab leak may be noticed first as a warm patch underfoot, or carpet that stays damp with no obvious source.
Ceilings
Why a ceiling full of water needs caution
A ceiling that bulges has become a container, and wet drywall can give way quickly. Move people and furniture out from beneath it. Do not poke it unless you know the wiring and framing around it and can stand clear, and leave it to the contractor if you are unsure. CDC's guidance is to turn off power at the main when circuits are wet or near water, and to call an electrician instead if you would need to walk through standing water to reach the panel.
Light fixtures are a particular concern because water follows the wire down to them. If a fixture is dripping or a switch sits in a wet wall, keep it off until an electrician has looked at it, and do not test it to see whether it still works.
The first week
What a normal burst pipe job looks like day by day
Early on, the priorities are removing water and opening what has to be opened. Baseboards may come off so that readings can be taken low on the wall, and wet carpet pad may be pulled. Drying equipment then runs while the contractor returns to take readings. The pipe repair often happens early, since drying a house with an active leak makes little sense, though the plumber may need open walls left in place for access or a pressure test.
Toward the end, the equipment comes out in stages as rooms reach their targets, followed by repairs. How long this takes depends on what got wet and how long it sat, and the guide on how long drying takes sets out the factors. Replace drywall only after the framing tests dry, even if the schedule is tempting you to hurry.
If you were away
Coming home to a house that has been running water
Long-running leaks during a trip change the picture. Water may have soaked floors for days, ceilings may have dropped and hot-water heaters may have run empty. Before you go in, consider whether the electricity is safe, and leave the power alone if the panel is in a wet area. Use a flashlight rather than room switches.
Note the date you left and the date you got back, since your insurer will ask. Many policies treat a home that was left unheated differently, and some include conditions for homes left empty. Check for mold as well, because water left for more than a day or two may have started growth. If you do see it, look at mold prevention after water damage before you start moving belongings around.
Claim file
Records that help a burst pipe claim
Most of this takes minutes on a phone, and it is much harder to recreate afterward.
- A photo or video of the failure itself before the plumber repairs it.
- The plumber's written note about what failed and the likely reason.
- The failed part, tagged with the date and location.
- Water meter readings or an unusually high utility bill, if the leak ran for a while.
- Thermostat history from a smart thermostat, which can show that the heat was on before a freeze.
- A list of damaged belongings, photographed before being moved.
- Drying logs and the written scope from the restoration contractor.
Smart protection
Devices that limit the next break
Prevention hardware will not stop a pipe from failing, but it can shorten how long the water runs.
- Leak sensorsSmall alarms placed under sinks, beside the water heater and behind the washer alert you to water on the floor. Connected versions can reach your phone.
- Automatic shutoff valvesFitted on the main, these close when a sensor trips or when flow looks abnormal. They are useful in second homes or for people who travel often.
- Temperature alertsA sensor in a cold basement or a second home can warn you when the heat fails, giving you time before pipes freeze.
- Pipe insulation and heat cableFoam sleeves slow heat loss on exposed runs. Listed heat cable, installed by the manufacturer's directions, helps on lines that cannot be rerouted.
- Labels on the valvesA tag on the main, with a note on which way it turns, helps a visitor or a house sitter in a hurry.
Burst pipe specifics
What people ask once the water has stopped
Should I keep the heat on after the pipe bursts?
Yes, in cold weather. Other pipes can still freeze, and drying goes better in a heated building. If the furnace or its wiring got wet, have it checked first.
Can I use my water again after the repair?
Once the plumber has pressure-tested the repair, normally yes. Run cold water first, and watch ceilings and walls below for new drips.
Is the water from a burst pipe clean?
It starts clean when it comes from a supply line, but it can pick up contaminants as it travels through walls and insulation, and it degrades as time passes.
Why did my pipe burst when it was warming up?
The split usually happened during the freeze, while the ice blocked the flow. You see the water only once the ice melts.
Should I open the walls myself to look?
Wait. Pipes and wires run in those cavities, and an insurer may want to see the damage. A moisture meter can often narrow down the wet section first.
Do I need a plumber and a restoration contractor?
Usually both. Read who to call first for how the two jobs fit together. The line at (833) 610-0241 handles the referral for the water damage side.
Hot water lines
Why a hot-water break can do more harm
A failed hot-water line brings an extra set of problems. Steam and warm water raise humidity quickly, which can peel paint, swell doors and send condensation to cold surfaces in other rooms. It can also empty the water heater. Turn off the gas or power to the heater so it does not fire or burn out while empty, and let the plumber relight it when the line is fixed.
Be careful with hot water on the floor, particularly around children. Slab leaks on hot lines often show up as a high gas or electric bill, a warm patch on the floor, or the sound of a heater that runs all the time.
Apartments
Burst pipes in apartments and condos
A pipe that fails in a shared building affects people beyond your own walls, so these steps come in a different order.
- Call building maintenance first, since the valve may be out of your reach.
- Warn the unit below, and the unit next door, right away.
- Report the failure to your renters or condo policy, even if the pipe is not yours.
- Ask the association which parts of the walls and floors it insures.
- Take photos of your unit before the shared repairs begin.
- Keep a list of the date and time you learned of the leak, and who you told.
Plaster and older homes
When the pipe is in an old wall
Old houses often have pipes running through plaster walls, and old pipe can be fragile near the break. A plumber may need to open more than expected in order to reach sound pipe to connect to. Ask them to cut as small an opening as they can, and to leave it open for the moisture check afterward. Original trim is worth numbering and setting aside.
If your home was built before 1978, ask about lead-safe practices before old paint gets cut. Dried plaster can sometimes stay in place, though it may need checking for loose areas that have separated from the lath.
Service areas
Burst Pipe Water Damage service areas
Where you live changes burst pipe water damage. See Oregon, Connecticut, Delaware, Kansas, Louisiana, New Hampshire, Chicago, Dallas, Colorado Springs, Cedar Hill, Lake Stevens, Norcross, Port Charlotte, Prosper, Atlanta, Indianapolis.
Urgent?
If this is happening right now
Go straight to the first steps: emergency burst pipe services, emergency ceiling leak services.